In this article, we will briefly describe YUM, YumDB, then the cause of Yum Error: database disk image is malformed and how to fix this error.
YUM (Yellowdog Updater, Modified) is the default, high-level tool for Linux package management on RPM (RedHat Package Manager) based Linux distributions such as Red Hat Enterprise Linux (RHEL), CentOS as well as older versions of Fedora Linux, just to mention but a few.
It works just like apt-get command or the relatively new apt command; it can be used to install new packages, remove old packages and query installed and/or available packages. It can also be used to update a system (together with dependency resolution and obsolete processing depending on stored repository metadata).
Note: This guide will assume you are controlling your system as root, otherwise use the sudo command to run all the commands below. Interestingly, you can also run sudo command without entering a password; did you know that, okay, let’s continue.
Brief Understanding of YumDB
Starting from version 3.2.26, yum stores supplementary information concerning installed packages in a location outside of the generic rpmdatabase; in a simple flat file database called yumdb (/var/lib/yum/yumdb/) – not a real database.
# cd /var/lib/yum/yumdb
# ls

You can check out one of the sub-directories to find out more about yumdb as follows.
# cd b
# ls
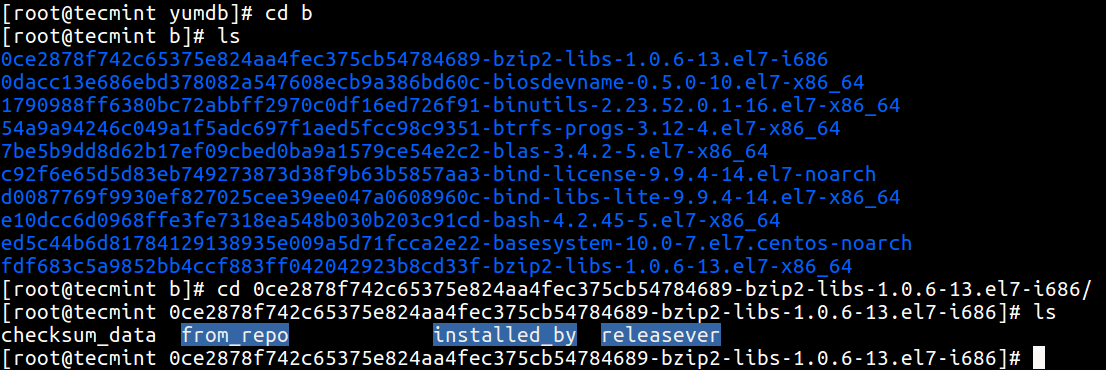
Although this information is not of great significance to yum processes, it is very useful to the system administrators: it clearly describes the context in which a package was installed on the system.
If you tried looking through the files (from_repo, installed_by, releasever etc..) shown in the screen shot above, you would probably see nothing important in them.
To access the information in them, you must install yum-utils which provides a script called yumdb – then use this script as explained below.
# yum install yum-utils
The following command will get the repo from which httpd was installed.
# yumdb get from_repo httpd

To define a note on the packages httpd and mariadb, type.
# yumdb set note "installed by aaronkilik to setup LAMP" httpd mariadb

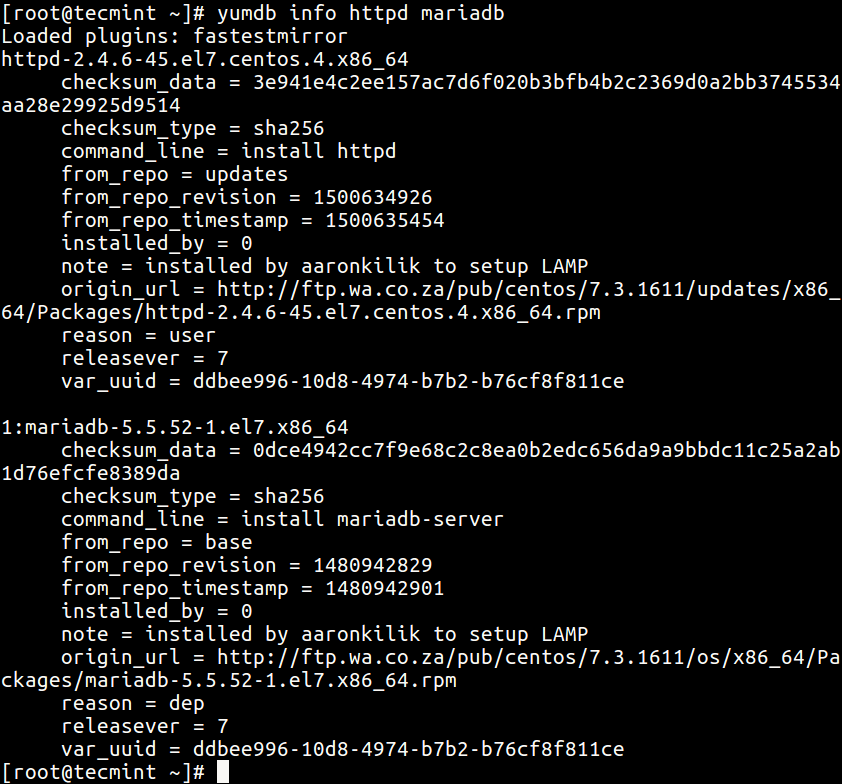
And to vew all yumdb values concerning httpd and mariadb, type.
# yumdb info httpd mariadb
Fix Yum Error: database disk image is malformed
Occasionally while installing a package or updating your system using YUM, you may encounter the error: “database disk image is malformed”. It may result from a corrupted yumdb: possibly caused by an impediment of the “yum update” process or package installation.
To fix this error, you need to clean database cache by running the command below.
# yum clean dbcache

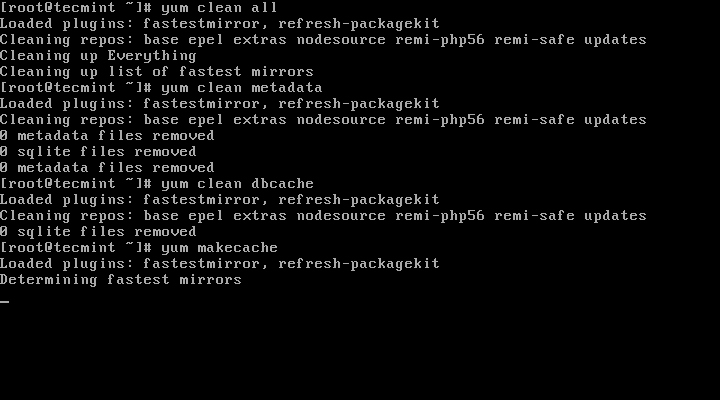
If the above command fails to work (fix the error), try running the series of commands below.
# yum clean all			#delete entries in /var/cache/yum/ directory.
# yum clean metadata		#clear XML metadeta
# yum clean dbcache		#clear the cached files for database
# yum makecache		        #make cache
Finally, you must rebuild your system’s RPM database for it to work.
# mv /var/lib/rpm/__db* /tmp
# rpm --rebuilddb

If you have followed the above instructions well, then the error should be resolved by now. Then try to update your system as follows.
# yum update
You may also check out these important articles concerning yum and other Linux package managers:
- How to Use ‘Yum History’ to Find Out Installed or Removed Packages Info
- 27 ‘DNF’ (Fork of Yum) Commands for RPM Package Management in Linux
- What is APT and Aptitude? and What’s real Difference Between Them?
- How to Use ‘apt-fast’ to Speed Up apt-get/apt Package Downloads Using Multiple Mirrors
Do you have any queries or ideas to share concerning this topic, use the comment section below to do that.




Thanks your tips really helped me!!!
@NAKOBR
That’s great! Thanks for the useful feedback.